
Thanks for reaching out

About Us
Everything IT
Hardware - Software
Everything In-between
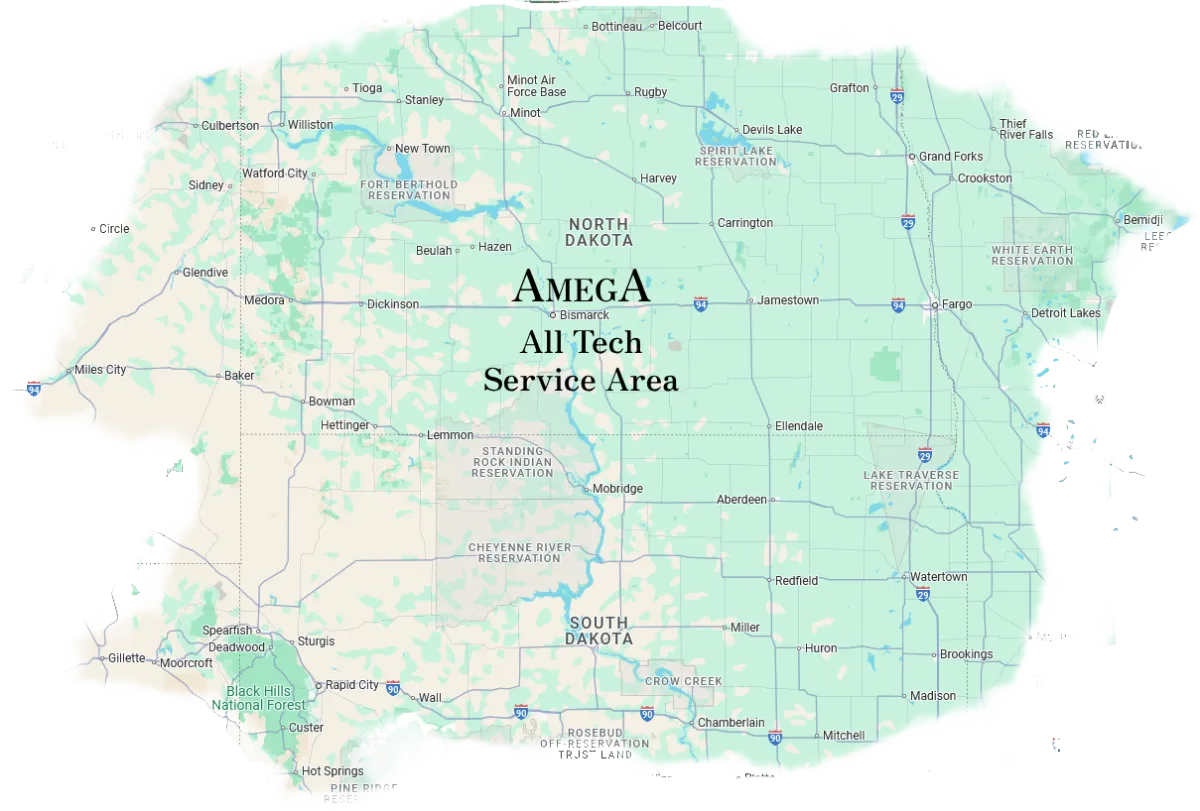
Field Service & Security
Commercial Residential Industrial Automation


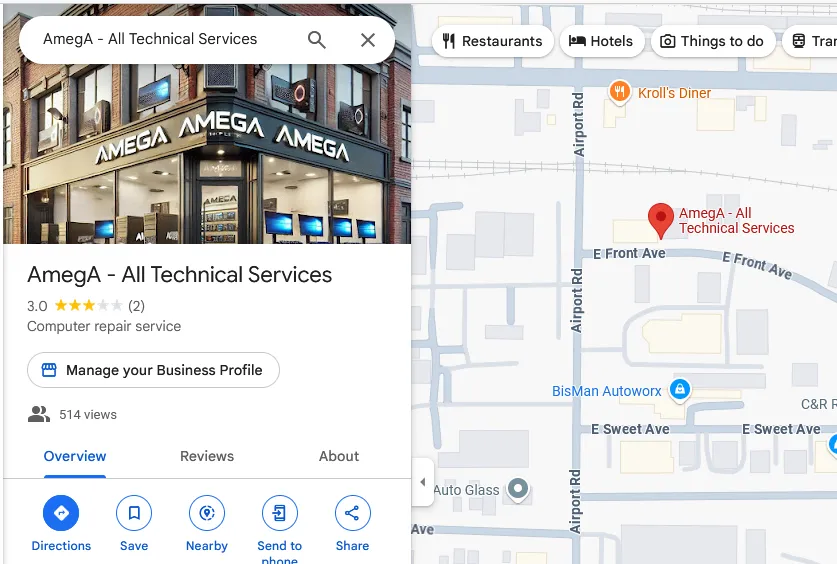
Directions?
Services
Other Links
© copyright 2003. AmegA Computers


Other computer shops in the area Insomniacs Computers, BisMan computer fixers, iRepair, Buccaneer Computers, Epic Technologies but AmegA Computers solves more problems and less inconvenience.
Even more networking and computer sales companies in Bismarck area, C-Ram, Computer 1, Silicon Plains, Tho AmegA Computers solves more problems for less money
AmegA will always recommend taking the time to learn more about IT from the ground up. Here are some amazing sites for you to start learning. Brilliant.org, or Reddit Articles and maybe Alison knows something. Someday AmegA will start classes again or an online syllabus to help our customers.